
Material Preparation
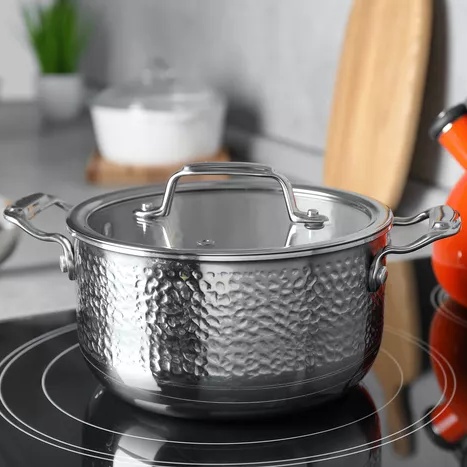
Bodies are usually drawn from coil or sheet in an austenitic grade, with 304 the familiar choice. It forms well and holds up in kitchen conditions. Induction cookware needs a magnetic layer, and there are two common ways to get one: use a clad sheet that already contains a ferritic layer such as 430, or bond a separate base disc after forming.
The choice shows up later in the process. Clad sheet flows unevenly in the die because its layers are different metals, and the finished rim exposes every layer in cross-section. A separate disc keeps the body simple but brings a bonding step and a flatness target for the bottom.
Incoming checks normally cover thickness, width, surface condition and the protective film. Hardness is worth tracking too. A coil from a different heat can draw differently from the last one, and the first sign is often a tear rate creeping up on the press.
Blanking and Deep Drawing
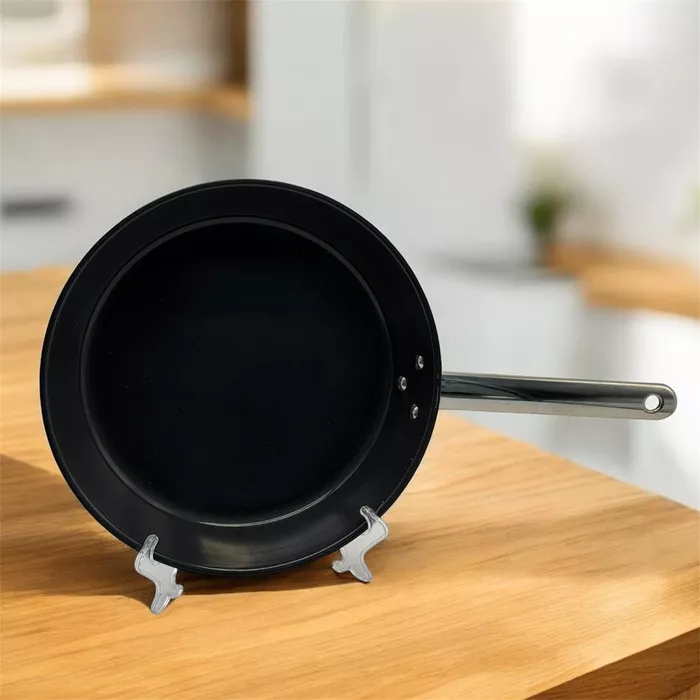
Blanks are cut as discs and nested to waste as little sheet as possible. A burr from the blanking die travels into the drawing die with the blank, so worn blanking tools tend to be diagnosed, wrongly at first, as drawing problems.
In drawing, the punch carries the blank into the die while the blank holder restrains the flange. Too little holder force and the flange buckles into wrinkles. Too much, or a die radius that is too tight, and the metal cannot feed inward, so the wall tears, usually just above the punch nose. Short of tearing, thinning at the bottom corner is the quiet failure: the pot looks fine but has lost wall where it can least afford to, and polishing will take more off.
Deep pots need more than one stroke. Austenitic stainless hardens quickly as it is worked, so some products go through intermediate annealing between draws. Parts have to be degreased first, since drawing lubricant left on the surface can burn on in the furnace. Shallow pans may never need that loop at all.
Trimming and Edge Forming
A drawn cup comes off the press with a wavy rim. Directional properties in the sheet produce ears, so the top is trimmed level before any edge work.
The trim sets up the next operation. A burr or small tear on the cut edge can open into a crack during flanging and curling, and because the crack appears at the curling station, it is easy to blame the wrong tool. Which side carries the burr, relative to the direction the rim rolls, also affects whether the curl closes cleanly.
Flanging bends the edge outward; curling rolls it into a bead that stiffens the rim and removes the sharp edge. Not every product gets one. Some pans keep a plain rim, and pouring spouts add another forming step.
Surface Finishing and Polishing
Polishing takes metal off. It will blur a light scratch, but a deep one means grinding until it is gone, and the wall is thinner there afterward. So the useful inspection happens before the finishing station: draw lines, die scratches, galling streaks, handling marks, rough patches on heavily stretched areas. Parts that fail are pulled out rather than polished.
The target finish sets the abrasive sequence. Mirror finishes typically move from coarser belts to progressively finer buffing with compound, while satin or brushed finishes stop earlier and use directional abrasives. Round bodies are easy to fixture on automatic polishers; the zone near the base or rim often still needs hand work or dedicated tooling.
Order is a design call. Polishing before handle welding is easier on the part, but leaves the weld area to be cleaned afterward.
Handle Attachment and Component Assembly
Handles are riveted, screwed to a bracket, or welded via studs or plates. Welding on a thin wall can leave heat tint on the inside surface, which has to be limited or cleaned off. Rivets avoid the heat, but the holes and crevices they create are harder to keep clean.
Where a base disc is used, it is commonly bonded before final finishing, because the bonding step governs bottom flatness and the surface that will be polished. Lids, knobs and loose fittings come last.
Cleaning and Quality Inspection
Cleaning removes forming oil, polishing compound and metal fines, followed by rinsing and drying. Leftover residue shows up as staining and, if the product goes on to be coated, as adhesion trouble.
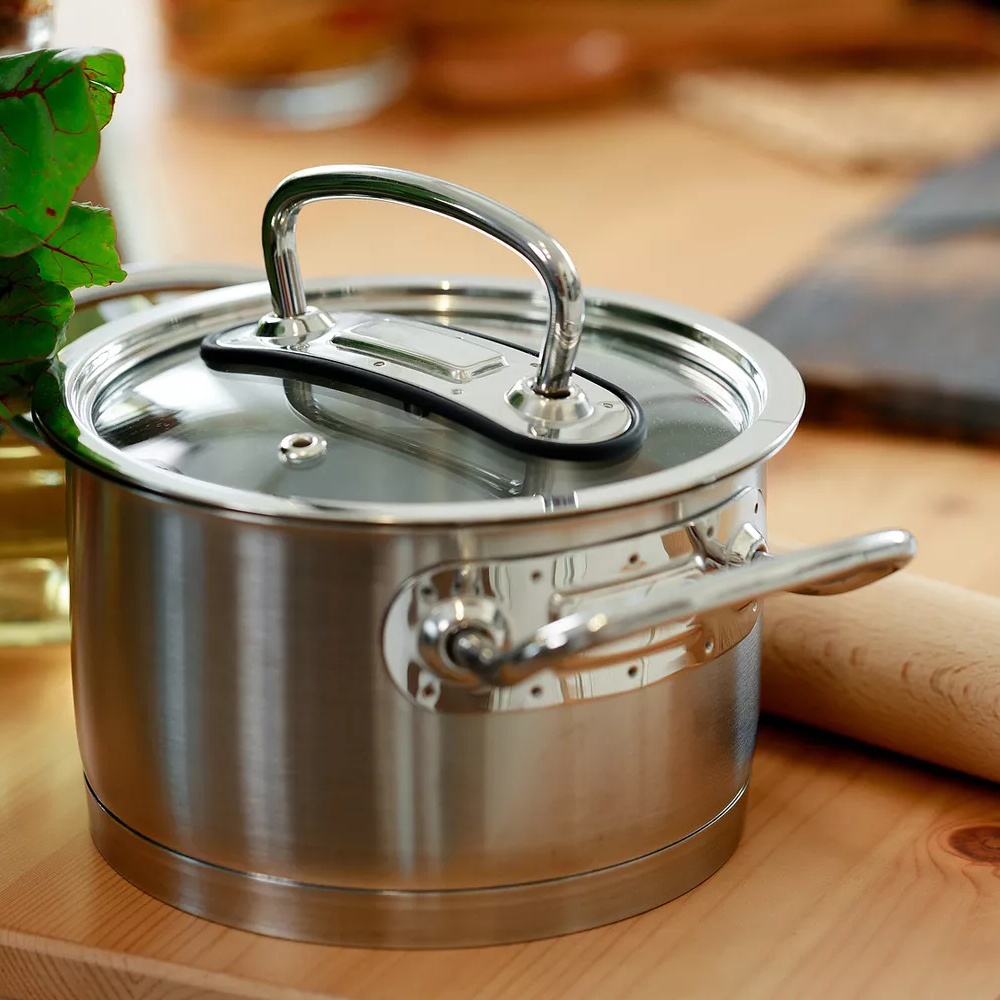
Visual inspection under good lighting catches scratches and dents; dimensional checks cover diameter, height and rim. Base flatness matters for induction hobs, since a pot that rocks on a flat plate makes poor contact. Handle joints are usually pull- or torque-tested on a sample basis, with the sampling plan set by the plant or the customer.
Production Line Equipment and Process Coordination
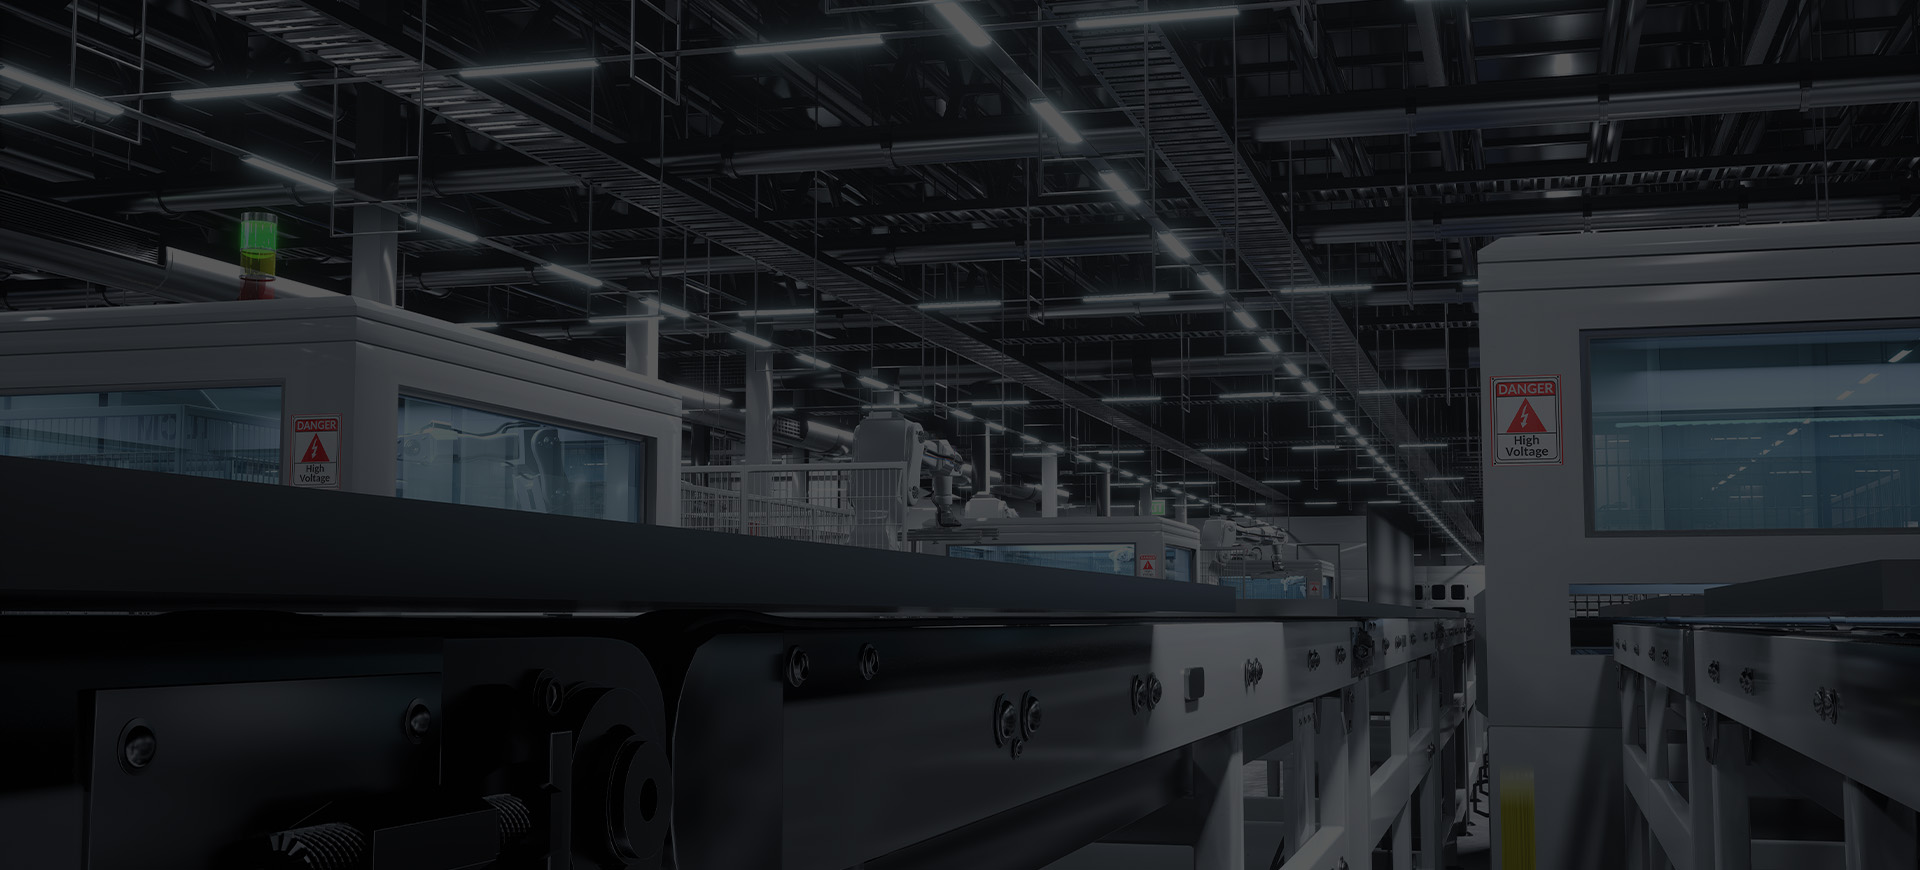
A stainless steel cookware production line usually strings together blanking and drawing presses, an annealing furnace where needed, trimming and curling machines, polishing equipment, welding or riveting stations, cleaning and an inspection area.
The difficulty is running them together. Stations rarely work at the same pace, and drawing and polishing are the usual mismatch, so buffers between them keep a slow station from stalling the rest. Tooling changeovers limit how many diameters one line can sensibly carry. Handling between stations needs thought as well: parts scratch easily when they knock together in a bin or ride a rough conveyor, and the damage turns up later at the polishing inspection.
Planning a Stainless Steel Cookware Production Line?
If you are setting up a new line or reworking an existing one, send MOSTRO a short description of your cookware designs, handle and base construction, target output, floor space and the equipment already on site. We can then go through which stages your line needs and how they should be arranged.
Contact MOSTRO to discuss your stainless steel cookware production project.